
Adding events to your page
Drop the Events element on a Qbit and style how the list looks.
The Events element puts a live, always-current list of your upcoming events on any Qbit page. Add events in the Events section and they appear here automatically - publish a new one and every page showing events updates without an edit.
Add the element
- Open your Qbit in the editor and click Add.
- Choose Events from the element grid (Premium).
- Click Configure on the element to open its settings.
Only published, upcoming events show. When an event ends, it drops off on its own - no cleanup.
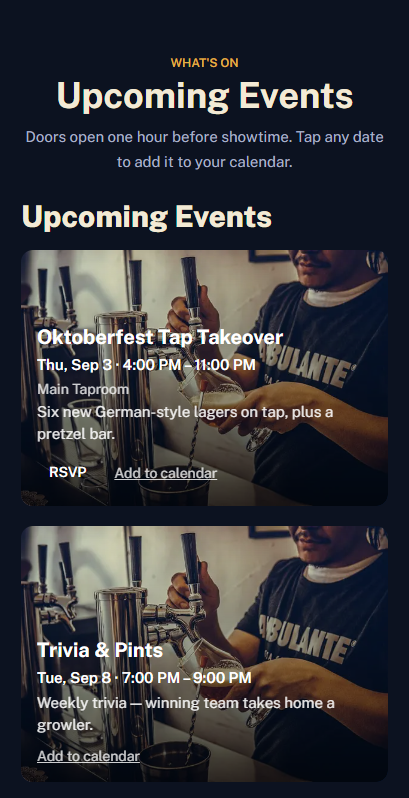
Make it look like yours
The Configure panel gives you a visual picker for the layout:
- List layout - a vertical list, a horizontal scrolling row, or a carousel with arrows.
- Card style - Compact or Large cards; show the event's image, a calendar-date chip, or text only; and where the text sits relative to the image (beside it, below it, or overlaid on the photo).
Fonts, colors, spacing, and per-part styling (title, date, buttons, cards) follow your page's theme and the element's style controls - the same system as every other element.
Choose what shows
- Location filter - only events at one venue (great for multi-location businesses).
- Time window - everything upcoming, or just the next 7/30/90 days.
- Max events and a pinned event that always sorts first.
- Toggles for the location line, ticket-link button, and add-to-calendar link.
- An empty state: custom "nothing scheduled" message, or hide the element entirely when there's nothing upcoming.
Tip: start from a template
The template gallery includes event-focused page designs - apply one and it's pre-configured with an events section; your own events fill it the moment you publish them.
Still stuck? Email support@qbit.codes.